Sunday 14 July 2013

More goings on..

Weather has been brilliant around Colchester for thew last few days so the MG has seen a fair amount of work.

First off was the audio again, I wasn't 100% happy with the Alpine radio I fitted, it looked a bit too 'Death Star' for a classic car. I wanted something modern-ish for "reliability" but didn't want anything to ugly. I settled for a Blaupunkt tape deck off eBay for £20. Its a tape deck, but for an extra fiver I've also got a cable that hooks up to the rear and allows conenction of an auxiliary device, such as an iPod.

I had an experiment with other antennas but didn't seem to have much luck, so I've done away with aerials for the time being. If I really want FM, I'll plug in an aux device!

Whilst upgrading the head unit I also decide to do something more permanent for speakers, and loom up the wiring nicely. I also replaced the radio console as the old one had been butchered slightly to fit a previous unit. In a new console the Blaupunkt fits perfectly with a mounting strap behind to hold it in place. 

You may also notice a new gear knob and gaiter. The number 7 pool ball is a close match for Demask Red. Front kick panels have also been refitted and screwed in.

New radio console, head unit, gear knob and gaiter.
I spent a long time trying things out for some speakers. I didn't particularly want to install speakers in the door cards, as this wouldn't be subtle and wouldn't have been normal in 1972! For that reason I didn't want to install in the rear quarter panels either!

First off I tried install speakers in map pockets in the kick trims as this seemed common in left hand drive cars. However in right hand drive vehicles it obstructed the linkages of the accelerator pedal and potentially got in the way of the bonnet release switch.

In the end I decided to hide some speakers under the dash, mounted to the dash reinforcement bar. I found some "Radiomobile" speaker pods that looked small and discreet enough for the job. The speakers were hooked up to and ISO block to the head unit. I also run some speaker cable to the rear boot area, I want to add some Blaupunkts to the rear wells, between the rear aches and rear lights. So far its all sounding good!

Left dash speaker.

Right dash speaker.
They are very discreet and not easy to spot, job done! An other important purchase was a tape box. I can now pull a tape out of a box and swap it in the radio within 20 seconds!

The essential tape box.
Today I've mostly been cleaning the car again. Nigel was foamed, rinsed and washed. I cleaned the wheels with 'Mothers' chrome cleaner and then used the compressor to dry the them for the first time. Worked incredibly well, very, very few marks at all!

Nigel was also polished with Auto-Glyn super resin polish and the waxed with Meguiars carnauba wax. The results were pretty incredible:

Three pics showing the car after a good clean!
Parked up with the daily driver.
I'd also managed to get hold of a decent dust cover from a company on the net. The fabric is supposedly very breathable and is elasticated at the bottom. Looks like its going to be machine washable as well. 

Kept under the new cover.
So Nigel was put away for the rest of the day. He's off to the garage tomorrow for some work to be done, more updates on this coming soon!

Monday 24 June 2013

The parts start rolling in..

So, not much has happened as we've experienced a lot of rain in the last week. However I've started getting hold of a few more parts and accessories. 

First off, I was advised to get a compressor and blow gun for drying my wire wheels. Having sold some old crapola on the bay of E I had some float to get something half decent. I ended up ordering 50 litre 2hp 116 PSI compressor from StanAir in Lancashire. I have no power in my lockup so its going to live in my parents garage. Turns out you can get a 50 litre compressor in the back of a Fiat 500!

How to load a 50 litre compressor in a Fiat 500.
Shortly thereafter I went to Machine Mart to find a decent hose and blow gun (sprayer). StanAir advise that the compressor is not used with an extension lead so I needed to get a long hose. In the end I got a 15 metre rubber hose and Clarke airgun  with a removable long nozzle. I also picked up various adaptors for easy removal of tools. Hopefully I'll get a chance to clean the wheels and try out the compressor for drying. All signers crossed for better weather this weekend!

At the garage the other week I was advised that the tin master brake cylinder was starting to leak, a known fault with the original tin reservoirs. I was advised to replace both the master break cylinder and master clutch cylinder (also tin) with plastic ones. Replacing both with plastic reservoir items seem like a good idea for consistency and knowing the clutch one could need start rusting at some point anyway. I also ordered a period  battery disconnect switch for easy maintenance and storage. I'll be getting the garage to fit all three items. The area around the master break cylinder will also need respraying where it has started to leak on the metal work.

Blow gun, rubber hose, new master break and clutch cylinders and period battery disconnect switch.

Sunday 16 June 2013

Making plans...

So over this last weekend the car went to the garage for a bit of a check, tune up and for a new water temp gauge to be fitted. Whilst picking the car up I managed to get a view of Nigel up on the ramp. Viewing the underside confirmed the quality of the work undertaken on the car.


At the garage Nigel had some adjustments made to the carburetors, as a result he is idling a lot better. The car needs to go back for a new brake cylinder to be fitted as the original tin one is leaking onto the brake pedal. I've ordered both plastic master brake and clutch cylinder and will get both plastic items fitted for consistency.

The garage confirmed that the wiring behind the dash is very messy and needs tidying up.  There are various grommets missing that need to be installed at some point too.

As well as new master cylinders I've ordered 12 volt battery and storage bins for the under-car battery mounts as well as a quick opening battery lid and kick panel map pockets from Clark & Clark Specialty Products in the US.  I will be using the map pockets to create some speaker enclosures.

So at the moment its all about Making Plans For Nigel. Also on the to do list is some DynaLiner for under the bonnet (to replace the original heat shield), some new chrome mirrors,  dash switch blanks and more!

Apart from applying some Autosol to the bumpers and starting to clean up the glass, I've spent a  fair amount of time just driving the car to run it in. The car has only done approximately 500 miles since its rebuild by the previous owner and the garage advised doing some miles in it before any more adjustments are made.

First Weekend

So the weekend came. Nigel braved the weather to come out for a decent clean. First off was a coat of Meguiars HyperWash foam, rinse of with a hose, Meguiars Shampoo Plus applied with a Swissvax Waschpudel and another rinse. The car was then dried off with a microfiber car towel (I gave up on chamois leather 6 months ago). 

I hadn't touched the wheels and up to this point I avoided getting them wet. The wheels were sprayed with Mothers Chrome Wheel cleaner, hosed off and then dried with microfibers. 

Washing the car did allow me to identify a few weakness in the seals. as expected top of the door glass leaks a bit, the seals around the passenger door are a bit iffy ad the seal around the tailgate needs replacing at some point.

The carpet was given a bit of a hoover and I identified areas of carpet that needed sticking down. The previous owner  didn't stick all the carpet down, simply so he could show off the quality of the respray!

British weather dictated that it soon rain so unfortunately no time to get any polish or wax on the body. I did however have time to get some pictures for the insurance valuation before the car had to go back to storage:

That quintessential front end. Now sporting cliche fluffy dice, British Leyland tax disc holder and MGOC sticker.

The untouched rear end. The rear reversing lights do need replacing as they have faded.

Side profile with wire wheels and opened webasto roof.

The engine bay, detailed by the previous owner.
...and on the way home back to the lockup.
Once the car was stored up again I start to rummage through some of the paperwork. Nigel's previous owner had handed me a file full of random bills, MOTs and tax discs from other former owners. He also provided some photos of the work he did on the car. Having had a bit of an explore I began to get a better picture of the car's history.

Turns out Nigel was first registered at a British Leyland dealer in Surrey in October 1972. The car was original harvest gold, not Damask red. Nigel was kept in the Surrey area for many years. In 1986 the car underwent an outer respray in the original harvest gold and was fitted with new front wings and outer sills. The rear wheel arches were also repaired. The car found its way to Kings Lynn in Norfolk by 1989, where it stayed until around 2010. 

By 20011 Nigel had found his way into the hands of his previous owner (before me). By this time Nigel was in quite a bad way, with rust affecting the wing sand floor at the least. Nigel was then completely stripped and given a full respray in Damask red. All the panel work was replaced, floor plan and key structural parts of the car totally restored to its original glory.

You can see what was left of the original harvest gold colour and Rostyle wheel. Here the owner is preparing o repair and replace the castle sections.

What was left of the shell when the car was stripped.
All the work on the car was done over a two year period. As well as a full respray the suspension was rebuilt, engine components were resprayed for the engine bay detail, wire wheels were fitted, dashboard was reconditioned and a new vinyl interior was fitted.

The car was placed on a fully rotating jig for the respray and detail.


Final stages of the respray.
View of the detailed underside, including new mild steel exhaust, rebuilt suspension, recondition petrol tank and axle.
New vinyl interior and reconditioned dash.

First things first: Audio

One of the first things that I decided to do with the car was sort out some audio. Good excuse to start exploring the inside of the car, look behind the dash, battery tray and more...

The car came "fitted" with an eighties two-knob shaft (or spindle) cassette player, but it was not hooked up. The car also had no aerial installed and no power connections for a radio. Having had a rummage around the net I was relieved to find that it I wouldn't be butchering the dash if I wanted to fit a more conventional single din unit. 

I was adamant that I didn't want to put a CD player  in the car, partly as it didn't seem appropriate and I was worried about the clearance issues behind the dash. I spoke to a local car audio centre about the repair of a vintage radio cassette. They outwardly refused to go near one, and instead tried to sell me a Parrot kit for iPod or modern Alpine unit. I've got a modern Alpine CD/iPod unit in my Fiat. Its a great unit but I still didn't think it would be right for a 70's MG.

I managed to get my hands on a mid 90's Alpine cassette deck. It had been in my dads MX5 for a few years but the cassette deck had never been used. Not quite period, but certainly closer to period than a CD player! Advantages over a period unit included auto reverse tape deck, digital tuner and a reasonable amount of power for speakers.

Other things I needed of course were speakers and an aerial. Other things I was certain of; I didn't want to cut holes in the mint door cards to install speakers or drill a whole in the wing for an aerial. So having had a bit of a Google I found a subtle windscreen aerial, retro looking speaker pods and some simple Blaupunkt speakers.

Once evening after getting the car home I went out to my lock up armed with the radio, speakers and aerial, along with some automotive wiring, crimps, heat shrink and fuses. A few hours later I had a working radio cassette, aerial and speakers. Speakers were loosely position behind the front seats however I intend to find somewhere more permanent to put them, such as the front foot wells. The aerial was attached to the top corner of the windscreen. Power for the antenna was fed from the remote power output of the radio via an ISO loom.

Reception from the aerial isn't that great, it picks up the main BBC radio stations with a few crackles in certain places. Doesn't bug me too much, my plan is to listen to tapes mainly!

At some point I will revisit the wiring of the radio and tidy it up. A lot of the under dash wiring is incredibly messy (from previous owners?) and visible below the dash, so I will look into tidying that up as well. 

MGB dashboard after radio cassette was fitted. The dashboard currently hides a lot of messy wiring!

Anyways, next job the following weekend was to give it a proper clean, get the dust off the car!

Finding the right classic car.

Hello all and welcome to my blog..

For a long time I'd always wanted some kind of classic car. My parents used to have an '81 Ford Fiesta with a mere 25,000 miles on the clock. Dougie as the Fiesta was affectionately known  was dry stored and taken to local shows. Eventually Dougie won best post 1960 classic car at a local car show. Unfortunately my parents downsized and Dougie had to change hands.

I'd always figured I'd get access to a dry garage and then buy a classic car for fair weather use. After being on a long waiting list I managed to get myself a garage. Spruced it up with a bit of paint and used it to store my day car:


My day car, a Fiat 500 in the recently painted garage.

First I started looking for a Ford Capri. I was a bit of a Professionals fan after watching re-runs of it on ITV4 and naturally thought Capri. I went and had a look signal amber MK2 Capri locally that had just had a "respray". I then got a friendly mechanic to look at it with me who gave it a thumbs down. He also talked me through some figures for maintaining and repairing a Ford Capri after which I came to the conclusion it wasn't meant to be.

After doing a bit of research I decided to look at MGBs. Quite a few still around, lots and lots of parts for them and of course the MG owners club. Where could I go wrong!

I started trawling the net and classic car classifieds for this magic MGB. Firstly I looked at a rubber bumper convertible in red. Having hooned about in a couple of MX5s previously a roadster seemed like the obvious choice. I went and view the roadster and was a bit disappointed. It wasn't the right car as it was loaded with filler and beautified on the cheap. I was put off looking at any more roadsters as the hood design and seals around the windows didn't look that practical, particularly compared to the more modern MX5.

Shortly thereafter I started looking at MGB GTs instead. First off was a white rubber bumper. When pulling up to have a look at it I instantly liked the lines of the car, even with the rubber bumpers! The current owner also took me for a test drive in the car, explained the overdrive and few quirks of MGB ownership. Liked it a lot but wasn't sure about the condition. Would have made a brilliant daily drive, but of course I wasn't after a daily.

Then had a look at a few more cars, both rubber and chrome ones. I'd well and truly entered that experience they call 'buying a used car'. After being lured in by impressive descriptions over the phone and talk of amazing bodywork and good mechanics I went and viewed some examples of neglect, orange peel, hand painted, leaing petrol tanks and various other gremlins. 

Some of the nasties I saw whilst viewing one car: rust, badly applied body filler and paint brush touch ups!
After speaking to my friendly mechanic again i decided that getting a full metal respray was not going to be financially viable. On the mechanics advice, I then started looking for the best shell I could get, regardless on interior, wheels and age.

After continued searching on the net I came across one for sale in Norwich that fitted the bill. I went up with my Dad one Saturday morning to have a look. A '72 MGB GT in Damask red having had a full metal respray. Other bonuses included wire wweels and a factory fitted Webasto roof.

Viewing the Damask red MGB in Norwich. Full metal respray, Webasto roof and wire wheels.

Turns out the owner of 'Nigel' (named after the registration plate) was a panel beater by trade and did most of the restoration including prep and respray himself. The respray itself was of very high quality by my eyes and it was evident the owner had paid a lot off attention to detail. The engine bay and underside of the car were detailed as part of the respray. The car was dusty but none the less spotless. The owner reckoned the car had done about 500 miles since its rebuild and was only ever taken out in dry weather and had never needed cleaning!

After ride in Nigel with the owner and further inspection I made an offer and paid a deposit. The car was MOT' and had a new coil fitted. A couple of weeks later I went to collect the car. 

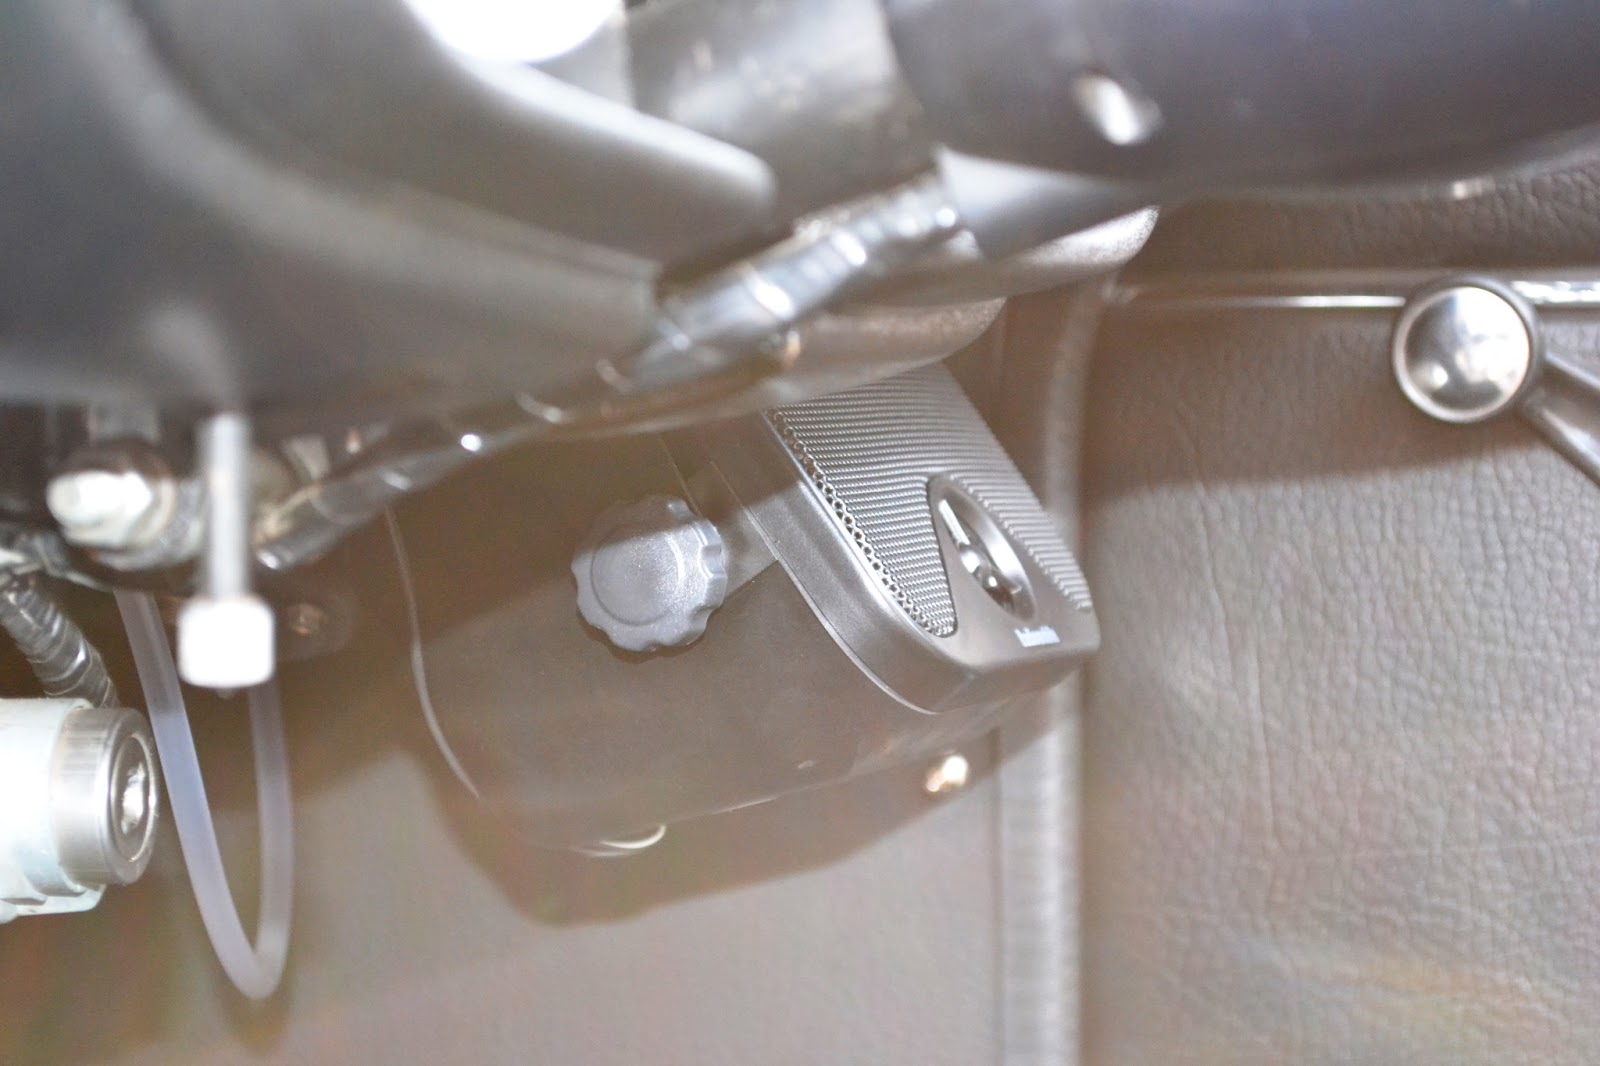
Driving the vehicle home it was pretty obvious how little the car had been used.  Gearbox and overdrive seemed to work flawlessly, steering was perfect. However the car wasn't idling very well and the coil seemed to be getting very hot. Was pretty obvious, like with all classic cars some work was going to be needed pretty soon!